
Purchase orders
Orders you send to vendors, which become bills once the goods or work arrive.
In the app: Purchases › Purchase Orders
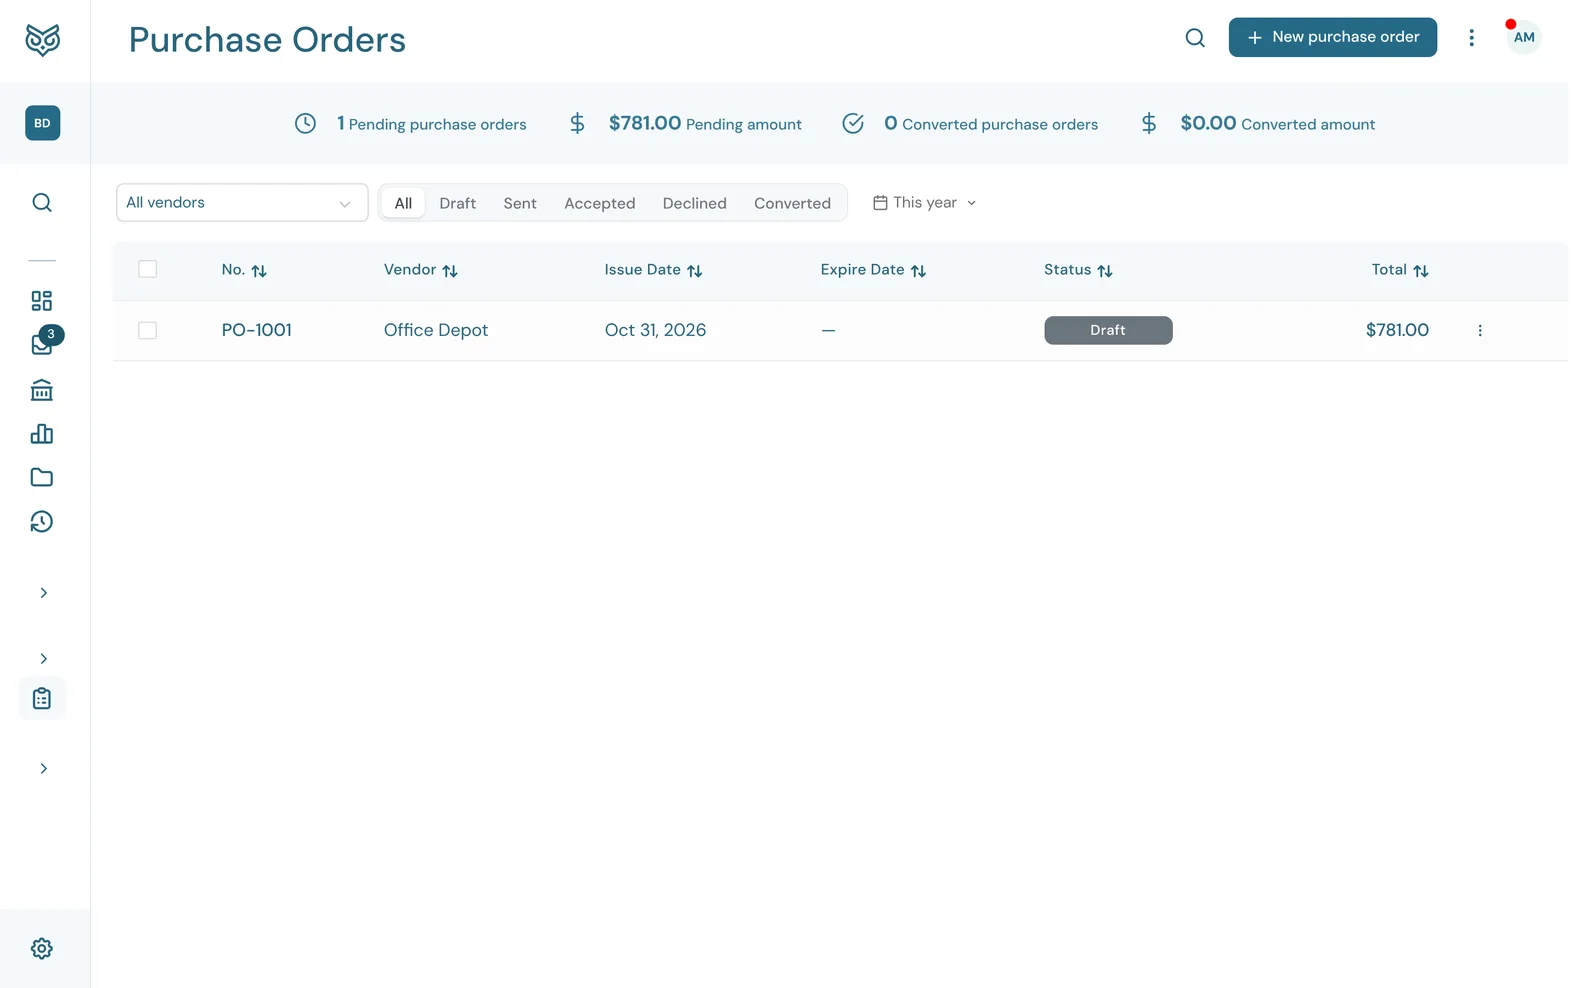
A purchase order (PO) tells a vendor what you want to buy and at what price. It doesn't touch your books until you convert it to a bill.
The top of the page

- Search filters the list as you type.
- New purchase order opens a blank PO (see Writing a purchase order).
- More options: print or export the list, show or hide the stat band, and choose columns, page size and row height.
- The stat band: Pending purchase orders and Pending amount (drafted or sent, not yet converted), and Converted purchase orders and Converted amount (turned into bills).
The list

- All vendors: one vendor's POs only.
- The status filter: Draft (saved, not sent), Sent (emailed to the vendor), Accepted (the vendor accepted it from the emailed link), Declined (the vendor declined it, or you did) and Converted (turned into a bill).
- The date filter sets the range. It starts at This year.
- Expire Date: how long the order stands. Blank if you didn't set one.
- Status: where the PO is.
- The row's ⋮ menu (below).
No., Vendor, Issue Date and Total fill in the rest. Click a row to open the PO.
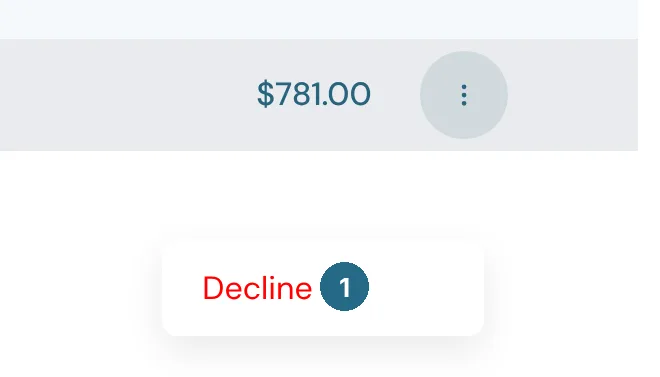
- Decline cancels the PO, after asking you to confirm. It stays on file as Declined.
On a sent or accepted PO the menu also has Convert to Bill.
An open purchase order

- Preview shows the PO as the vendor will see it. The expense account on each line isn't on it.
- More (below).
- Save as draft saves it without sending.
- Save and send saves it, emails it to the vendor and marks it Sent. The email links to a page where the vendor can Accept or Decline it.
Once a PO is sent, a Convert to Bill button appears in this row. It creates the bill with the same vendor and lines, and marks the PO Converted. Any inventory items on it are received into stock. With Auto-convert accepted estimates on in Sales settings, a PO the vendor accepts is converted for you.
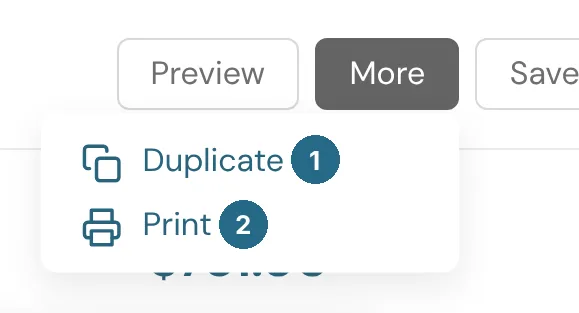
- Duplicate opens a new PO with the same vendor and lines.
- Print prints the PO.
Writing a purchase order
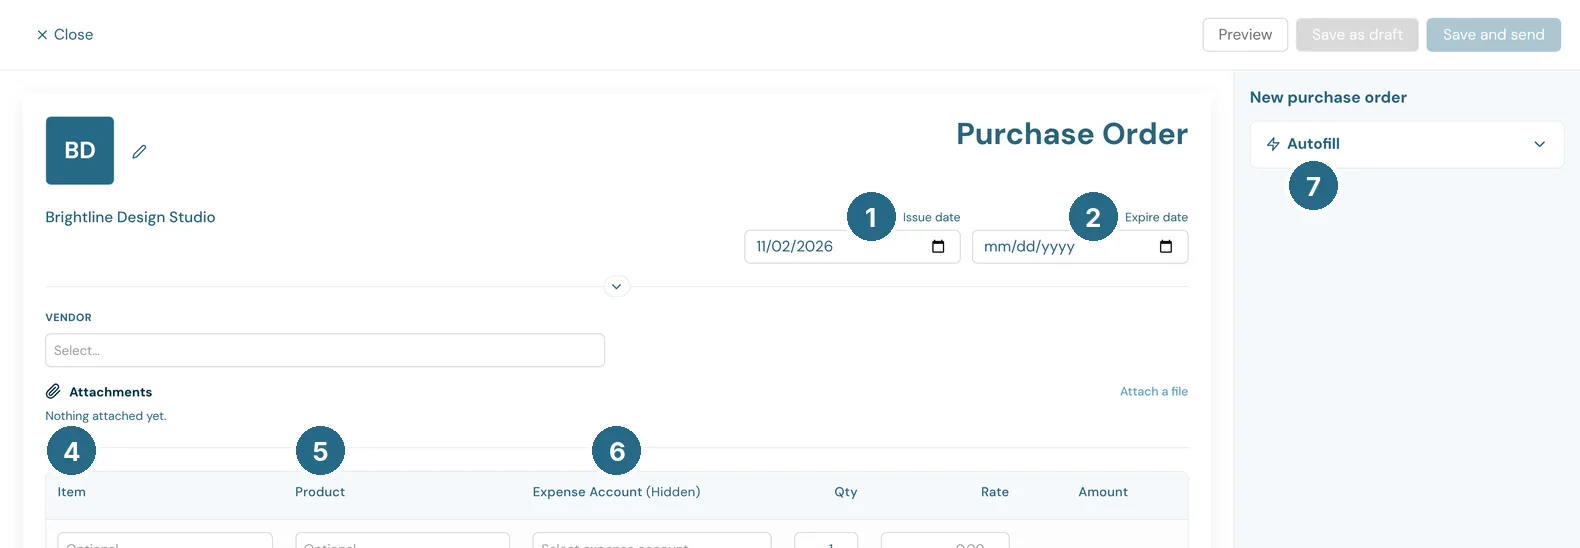
- Issue date: the date on the PO.
- Expire date (optional): how long the order stands.
- Vendor: who you're ordering from.
- Item: for inventory you're restocking, pick the product here. When the PO becomes a bill, the stock is received and its cost goes to the product's inventory asset account. Leave it empty for anything else.
- Product: a free-text name for what you're buying, such as "Brochure printing".
- Expense Account (hidden): where the line posts once it's a bill. "Hidden" means it never shows on the copy the vendor sees.
- Autofill fills the PO in from a file, a photo or pasted text, such as a vendor's quote. Check what it filled in, then save. Undo puts the form back.
Each line also takes a Qty, Rate and description. Below the lines are Add line item, Paste from Excel, the Memo, Discount, Sales tax, Total and Attachments, as on a bill.
Updated in v1.0.0